My Foundation | The Wall Phase | Parallettes | The Kick-Up | Freestanding Handstand | Programming | Common Mistakes | The Next Challenge | Start Today
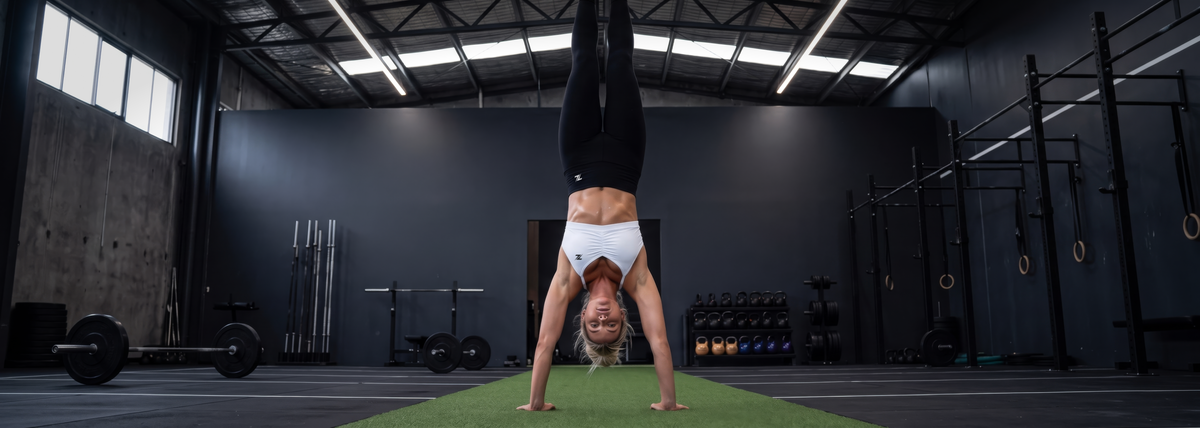
A freestanding handstand is the skill every calisthenics fan dreams of. Yet most beginners stall after just a few weeks. Not because they are not strong enough, but because they want to move away from the wall too quickly without building the right foundation. The good news: with the right progression, a freestanding handstand is achievable for everyone. Parallettes are the ideal tool for making progress. In this blog, we take you through the complete path, from your first wrist-mobility exercises to your first seconds free in the air.
The mistake almost everyone makes
Most people immediately start doing handstands against the wall and stay there for weeks, without ever truly working on the position that makes a handstand effective. The result: an arched back, unstable arms, and a posture that in no way matches a freestanding handstand. Want to learn this faster and correctly? Then do not start with the wall, but with your body.
1. Your foundation: mobility and body tension
Before you even think about a wall, your body needs to be ready. Two things are essential:
- Wrist and shoulder mobility. Your wrists need to be able to extend significantly, and your shoulders need full flexion (arms straight overhead without arching your back). Do wrist stretches and shoulder-mobility exercises daily; this prevents injuries and makes every next step easier.
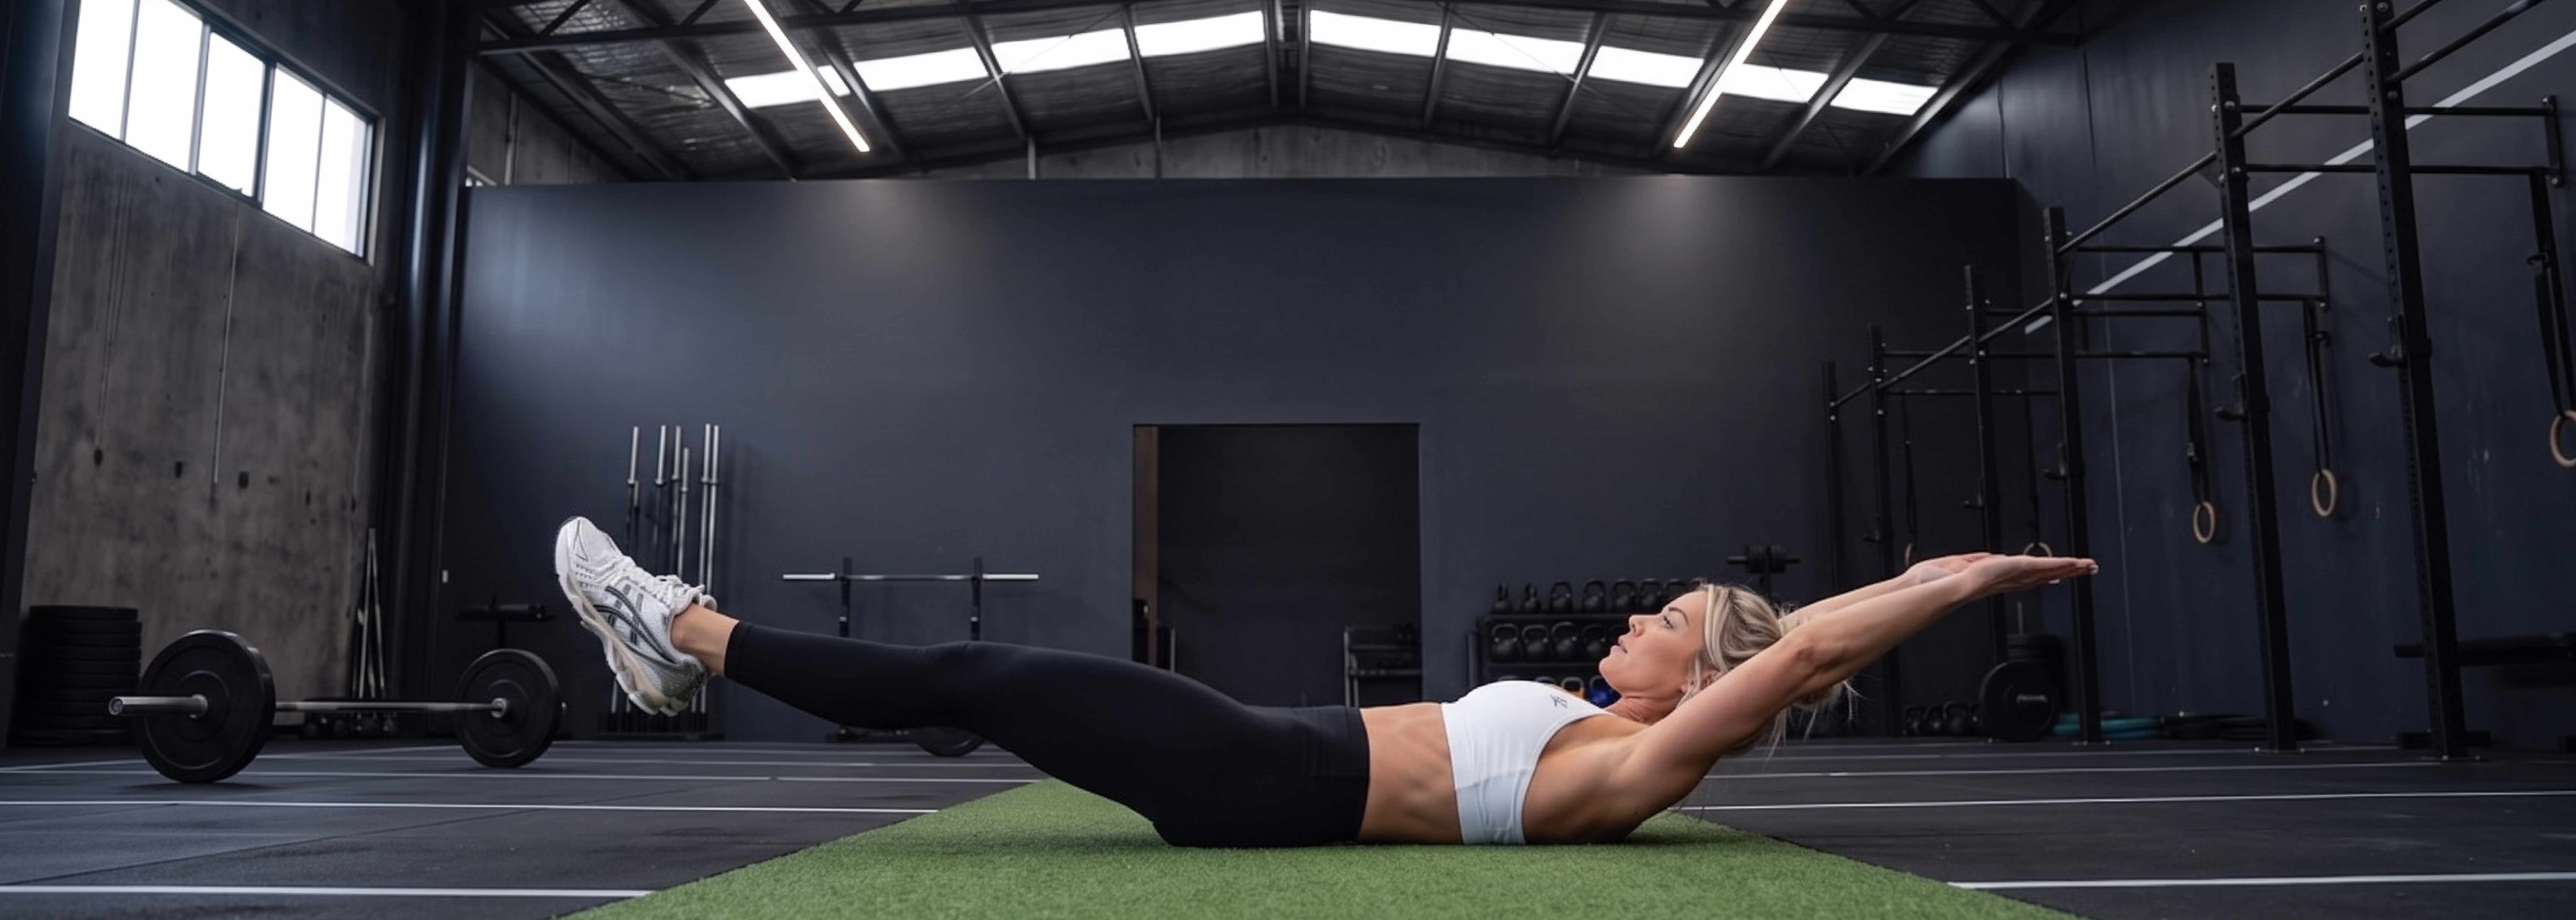
- Hollow body position. This is the active, slightly hollow body position that gives your handstand stability. Practice it lying on the floor until it becomes a reflex: ribs down, abs engaged, no arch in your back.
2. The wall phase: 2 variations, 2 goals
You can learn to stand against the wall with two different exercises. They each train something completely different.
- Chest-to-wall (stomach facing the wall): you walk your feet up until your chest faces the wall. This forces the correct line: shoulders open, back straight, body in one line. This is the variation you start with, so you learn the correct posture from the beginning.
- Back-to-wall (back against the wall): here, you kick up and lean your back against the wall. This variation is intended purely for mastering the kick-up. It often feels safer to start with, but you learn an incorrect, overly arched position because the wall catches your mistakes.
So start with the chest-to-wall variation to learn the correct technique right away. It feels more difficult at first, but you will not have to unlearn a bad habit later.
3. Parallettes: the stepping stone toward your freestanding handstand
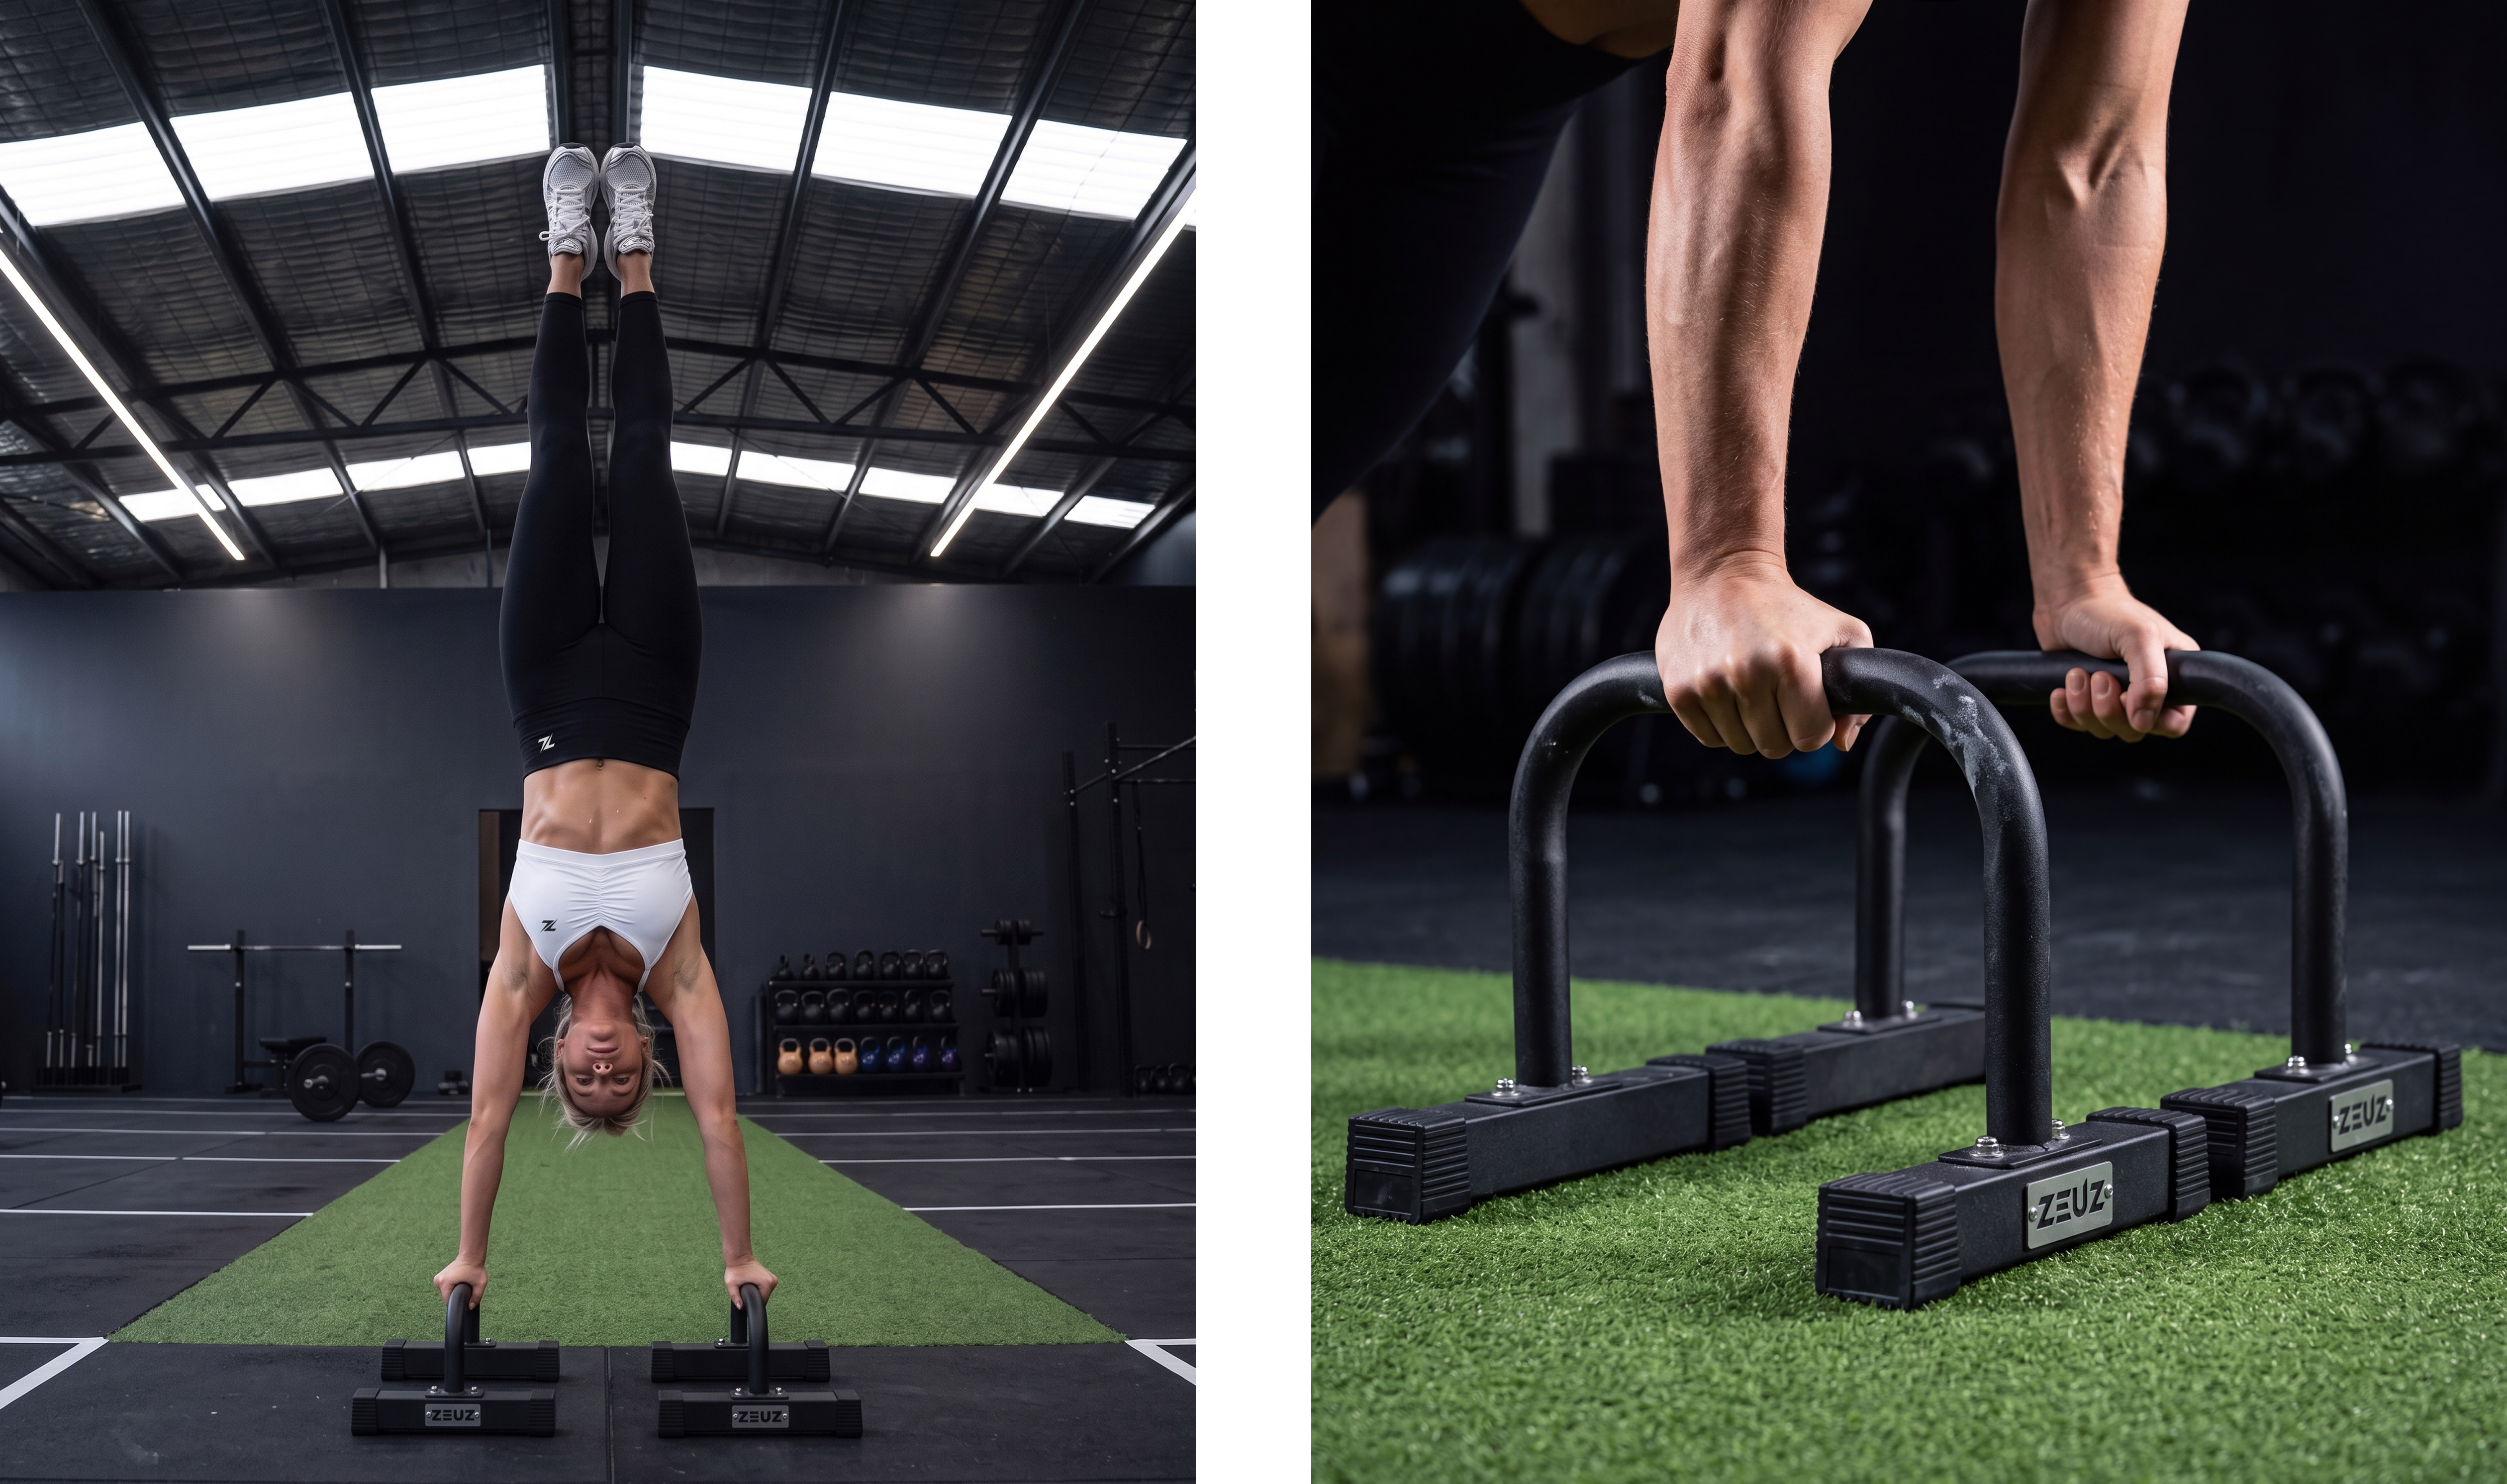
The wall teaches you the correct line, but it also takes over a large part of the balancing. In a freestanding handstand, that support is no longer there—and that is where parallettes come in. They give you three advantages that help you eventually achieve a freestanding handstand:
- More grip: you wrap your fingers around the bar, giving you a little extra control that a flat hand on the floor cannot offer.
- Easier entry: stepping or pressing up feels safer, so you can practice with more confidence.
- Wrist comfort: your wrists remain straight instead of being held at an extreme angle, which reduces pain and allows for longer, repeated sessions.
This combination of grip, control, and comfort allows you to practice more often and for longer. Repeated practice is exactly what will eventually help you make the transition to freestanding.
4. The kick-up: moving away from the wall
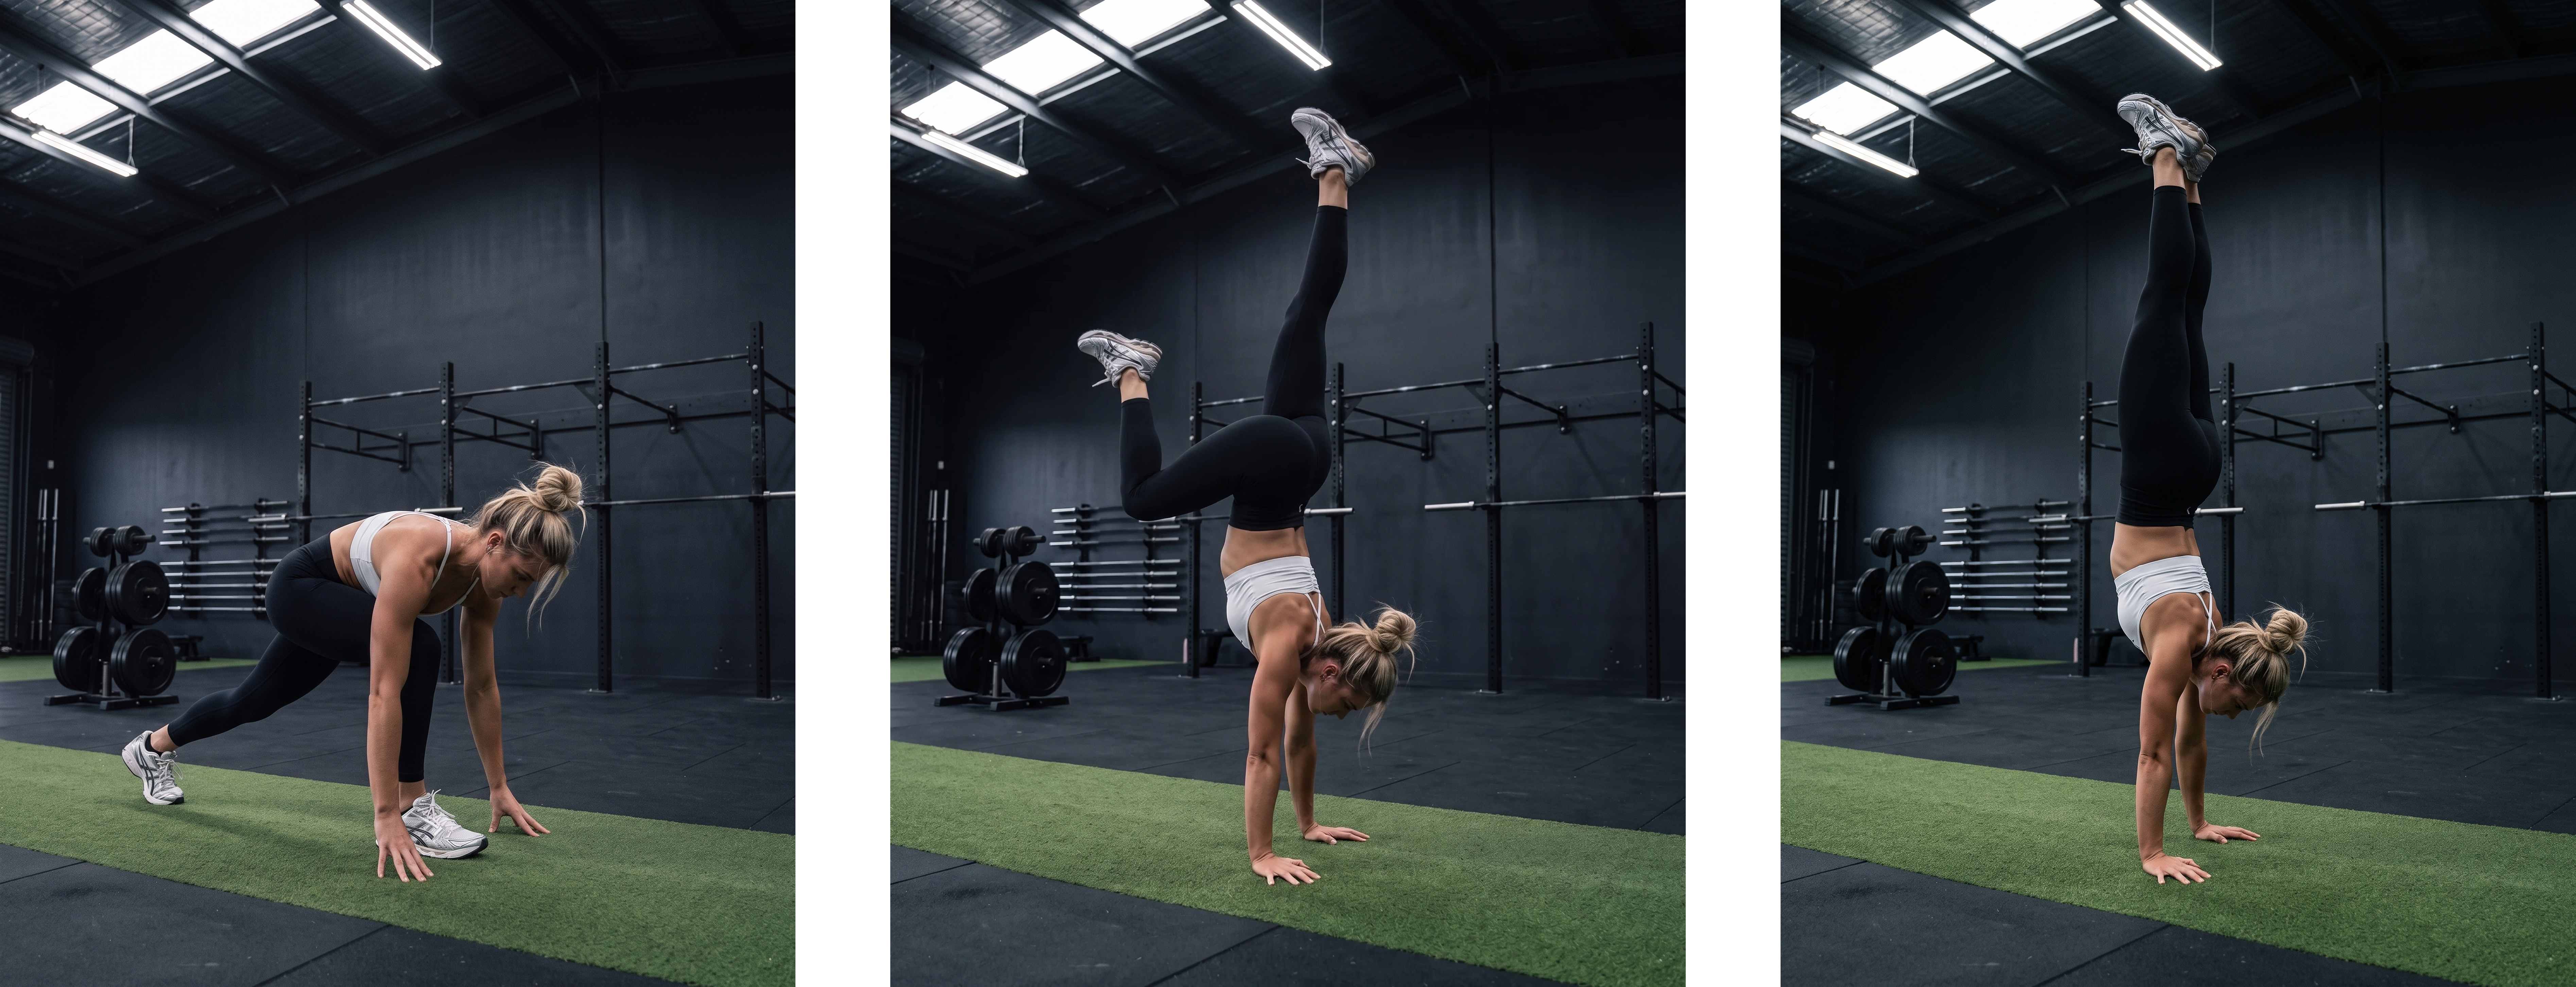
This is the moment when most people become impatient—and this is exactly where it gets challenging. Build your kick-up as follows:
- Practice the kick-up with the wall or a spotter first, so you can learn to time and control it. Use the wall or your spotter as a safety net if you kick too far or not far enough.
- Focus on control, not height. A small, controlled kick is more valuable than a wild swing.
- Train briefly and often. Five to ten short attempts several times a week will produce results faster than one long, exhausting session.
5. Ready for a freestanding handstand?
You are ready to let go of the wall once you can:
- Hold a stable chest-to-wall handstand for 30+ seconds without moving.
- Engage your hollow body position without thinking about it.
- Perform your kick-up repeatedly under control, even without a wall or spotter nearby.
Once these are in place, the transition to freestanding is simply a matter of trying more often, with a spotter or soft surface nearby.
Programming
You learn a handstand through repetition, not strength alone. Build it up as follows:
- Frequency: 3 to 5 times per week, briefly but consistently.
- Progress marker: measure your progress by the number of seconds held, not by the number of attempts.
- Recovery: your wrists and shoulders also need enough rest, so build it into your plan.
Common mistakes
-
Banana back: your back arches during the handstand.
Fix: actively work on your hollow body position on the floor until it becomes automatic. -
Looking at your hands: this tilts your head and causes you to lose balance.
Fix: look through the space between your hands, not at them. -
Kicking too far: you overshoot your balance point.
Fix: use a smaller kick and correct more quickly with your fingers.
The next challenge
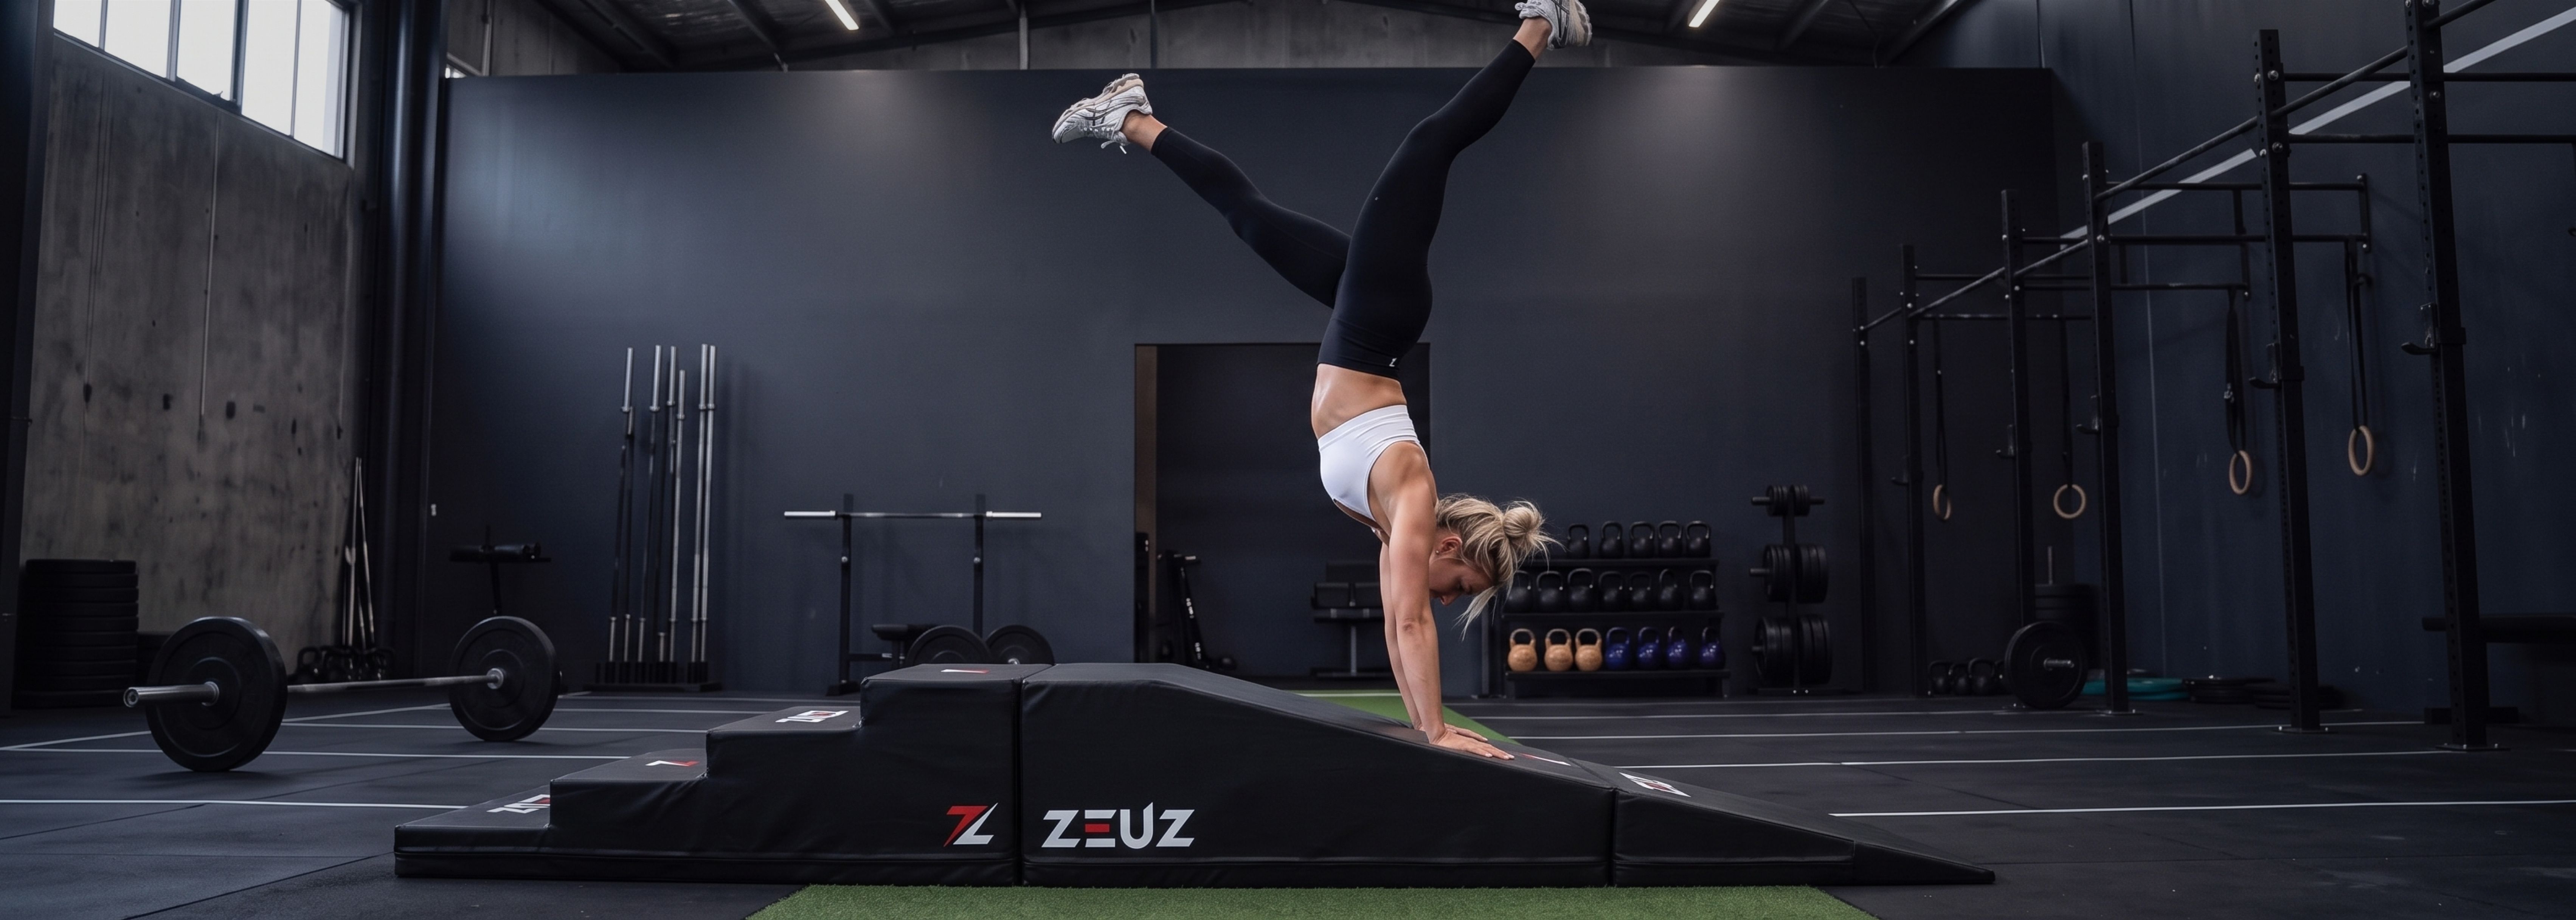
Once you can stand freely, the real fun begins. For advanced handstand walkers, the handstand ramp is a powerful way to challenge yourself further. An inclined surface changes the required shoulder flexion and shifts your center of gravity, forcing you to recalibrate your balance each time. This is a level of control you do not train on flat ground.
Ready to get started?
A freestanding handstand is not a matter of luck or natural ability. It is a matter of following the right sequence, training consistently, and using the right tools. Explore the parallettes collection and take your first step toward a freestanding handstand today.